Showing posts with label Recipes. Show all posts

Homemade Ice-Cream ...Finally!

Well, I finally did it--I bought an ice-cream maker!  I have always wanted to have one of my own, but never did the research to see how difficult it was to make homemade ice-cream!  Turns out, it’s very easy to make and did I mention…delicious!
I started out by looking at the various models, their cost and the reviews on Amazon.  I had a few favorites picked out, but still wasn’t sure.  I decided to ask a homesteading group on Facebook what their favorite model was.  Come to find out, one of the models that I selected was also a favorite of three ladies in the community, so I decided to go with that one. 

For those of you who don’t me, I love a good bargain!  I also don't mind purchasing used items as long as they are in good, working condition.  Personally, I think that you can find so many great deals at places like second hand stores, Ebay, Craigslist or even Amazon’s community.  I decided on a Cuisinart Frozen Yogurt, Ice-Cream and Sorbet maker from Ebay.  The maker had been used twice and came in the box with the instructions and recipe book.  In addition, this little gem came with an extra freezer bowl which many Amazon reviewers suggested purchasing.  Woohooo.  Now I’m not going to lie, the extra freezer bowl was a HUGE bonus, but the color of this ice cream maker screams FUN and also won my heart because it goes with my matching turquoise cow butter dish and cow creamer!!!  You can check them out by clicking here

Here’s my maker…..


So far I have made strawberry and chocolate ice cream right from recipe book that came with the machine and they are FANTASTIC!  All you need is milk, heavy cream, sugar, pure vanilla, strawberries and you have delicious, homemade strawberry ice-cream!   Want chocolate ice cream?  Same recipe but use unsweetened cocoa powder in place of the strawberries and viola!  While the chocolate was mixing, I couldn’t  help myself so I got a spoon and dug right in.  The flavor and texture reminded me of a Wendy’s© Frosty!!!  YUM. 

Here’s my machine working hard making my first batch of strawberry which tasted fresh and creamy!  Isn’t it pretty?

   
Once the ice-cream is finished mixing, it has to be stored in a freezer friendly container.   I still have my old fashioned ice-cream keeper/saver from Tupperware© do you?  I really like this container and it works perfectly for storing fresh homemade ice cream. 


 And here’s the finished product for the Mayor. 


The second time I made chocolate ice-cream, the Sheriff wanted to help.  He mixed everything together by hand and even turned on the machine for me.  He did an AWESOME job and reaped all the benefits of his hard work.  His favorite treat, a cup of coffee milk with a scoop of chocolate ice-cream and a straw (can’t forget the straw) he loves it!   Here he is below, watching his chocolate ice-cream go round and round.
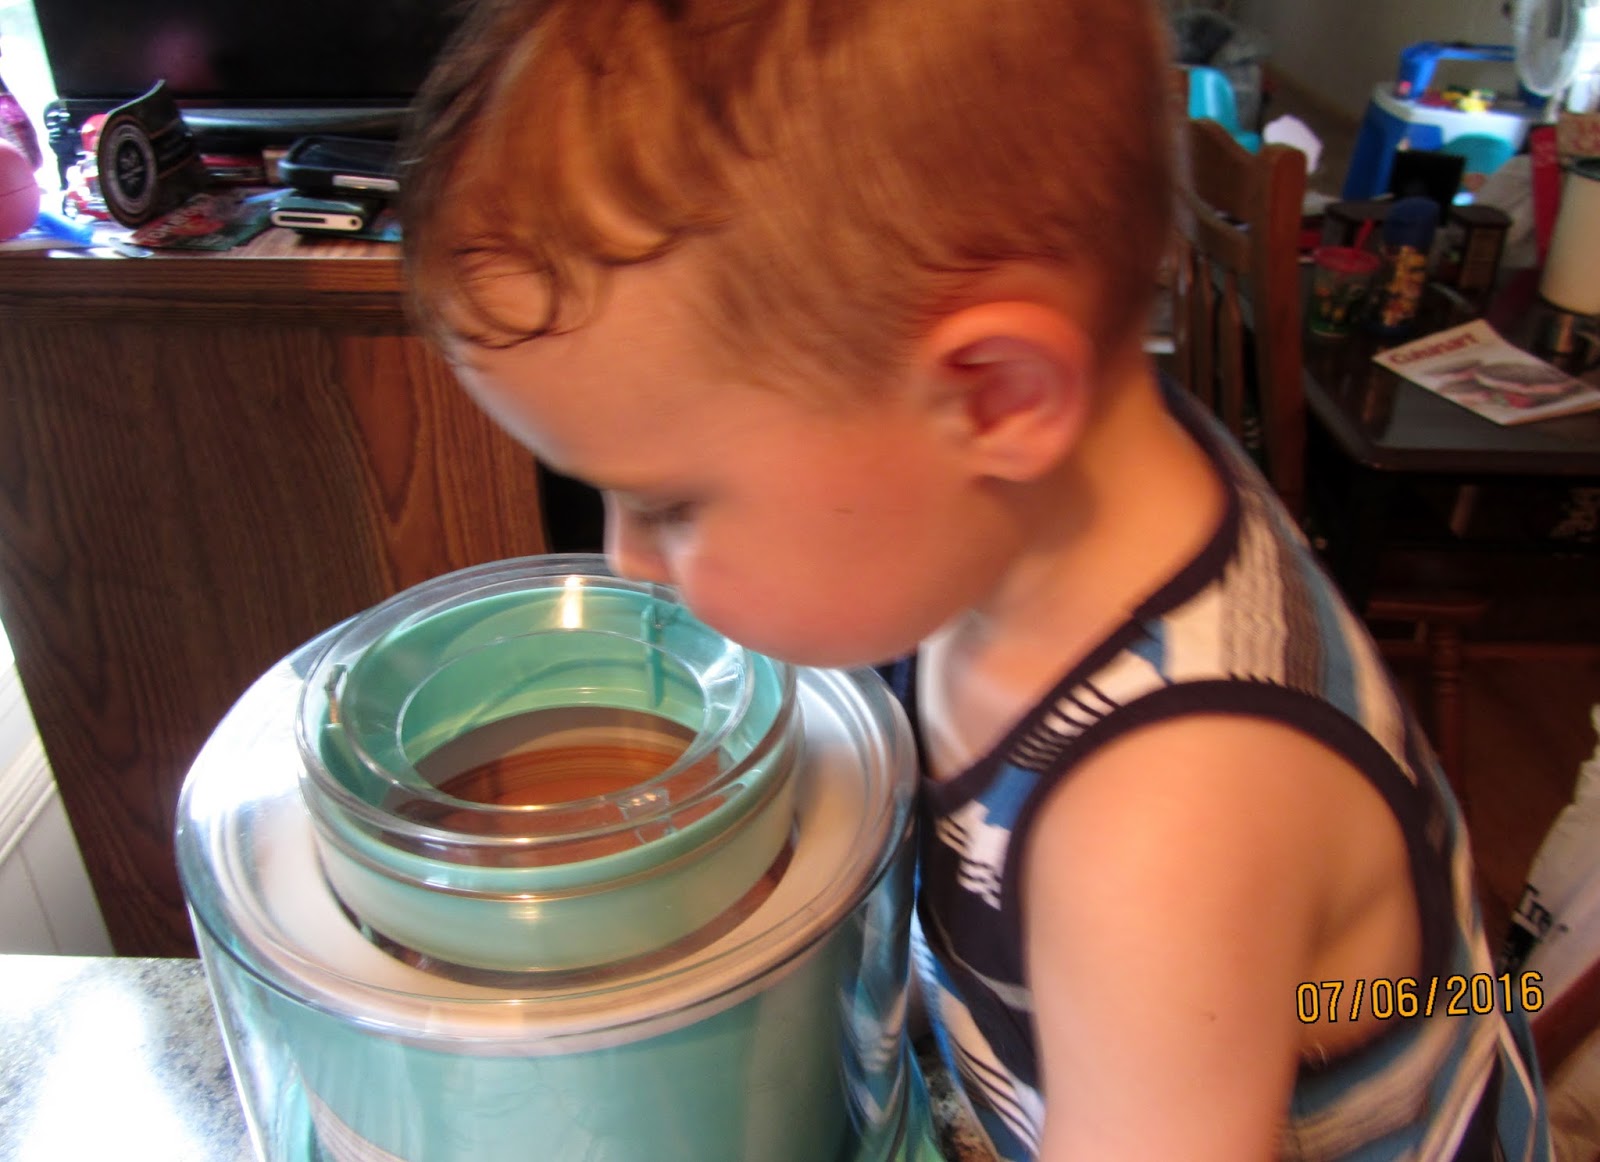

Have you made homemade ice-cream before?  If so, what is your favorite flavor?  And how do you store  your ice-cream?  I would love to hear from you!

Until next time y’all……it’s summertime….don’t forget the ice-cream!


Carrot French Fries

I enjoy cooking from scratch and am always looking for simple recipes that taste good especially vegetable recipes.  My family and I could certainly use more vegetables in our diet, so I was super excited when I found a recipe for carrot fries.  I must confess I was a bit skeptical about trying these because I’m not a big fan of carrots and can’t imagine having them as fries.  The result - delicious, easy to make and tasted like sweet potato fries!  These are a winner for me and have become part of rotations.

Here’s what I did:

Scrubbed 2 lbs of carrots.


Peel the carrots ….and save the carrot peels for homemade chicken stock.  I keep a scrap bag in the freezer for onion & carrot peels. 


Cut the carrots into French fries.


Toss with a tablespoon of olive oil and season with salt (I use sea salt) and pepper.  Arrange carrots in a single layer on baking sheet.  My special touch is to sprinkle a bit of brown sugar (see my homemade brown sugar recipe here) over the carrots.  Bake at 425 degrees for 10-15 minutes on each side until cooked and crispy.  You can find the recipe I used here.  Enjoy!  TLFF


I'm sharing on the Simple Saturday Blog Hop!


Kettle Corn

I am in love with Kettle Corn!  And up till about four years ago, I had to wait for summer fairs to come around just so that I could buy my kettle corn.  I have tried several in the grocery store, but ugh, I just did not like them.  So I started looking on the internet and found this recipe on  http://allrecipes.com/recipe/kettle-corn/detail.aspx?event8=1&prop24=SR_Title&e11=kettle%20corn&e8=Quick%20Search&event10=1&e7=Reviews
Here is what you will need:
  • 1 Large Pan
  • ¼ cup of vegetable oil (or oil of your choice—I have used coconut and peanut with great success)
  • ¼ cup white sugar (can use brown sugar—gives it a caramel color and taste)
  • ½ cup popcorn kernels
  • Salt

Pour oil and 3 kernels in pan and place over medium heat until you hear all three kernels pop. 
Once popped, add sugar and stir it around well, then add the remainder of the popcorn and cover it.  I then alternate every three seconds from leaving the pot on the burner to shaking it.
  Once the popping has slowed, remove from stove top and immediately sprinkle with salt. 
Let the batch cool a little, and enjoy!  WARNING---this is highly addictive! 
If I need to store (which rarely ever happens because I eat the whole batch), I will store in a glass container so that the popcorn stays nice and crunchy.  I find that plastic containers will soften the popcorn.  For gift giving, I like to use cellophane bags tied with a little piece of jute—very country looking.  Why not combine a bag of kettle corn with a DVD movie for a movie night Christmas gift...after all Christmas is just around the corner y'all!

Enjoy & blessings....
The Lewis Family Farm!


George Foreman Grill & Panini's


Like many of us, I am excited when I find another use for something that I already own- like my George Foreman grill.  This past week I was looking for something different & quick to make with the leftover turkey meat from Thanksgiving.  I found a Thanksgiving Panini on the Pioneer Woman’s website http://www.foodnetwork.com/recipes/ree-drummond/leftover-thanksgiving-panini-recipe/index.html which looked delicious, however, I don’t own a Panini machine.  Immediately, I thought of my George Foreman grill and decided to give it a try!  I was very happy with the results and the Panini was delicious!  Below you will find how I made my Thanksgiving Panini—yum, yum!

Ingredients:
Two slices of whole wheat bread
Chilled Gravy
Cranberry Sauce
Turkey
Stuffing (I made cornbread this year)
Butter

Directions:
1. Turn on your GFG so that it will be nice and hot.  Be sure to have all of your ingredients out and ready to assemble.
2. Butter one side of each piece of bread.


3. Lay one slice butter side down on a cutting board, and put some gravy.  Cold gravy works best so that it doesn't run off the sandwich.
4. Next put some cranberry sauce, then turkey & stuffing.


5. Lastly put the other slice of bread on top with butter side facing up.


6. Using a wide spatula, lift your sandwich and place it on the hot GFG and slowly push the cover down.  I held my cover down so that the heat would penetrate through the whole sandwich.  This took only a couple minutes and it was done. 


My husband loved the sandwich and now I can make other varieties of Panini’s with my GFG. 


Do you have a favorite Panini combination?  If so, I would love to hear from you!

Happy Thanksgiving from the Lewis' Family Farm!